
 Users
Users Blogs
Blogs  Photo Walls
 Photos
  Tags
Tags Register
 Login
Loginatom stack by youke23
laser engraver
What is ATOMSTACK A5 M50 Pro? Tuesday, May 3, 2022 10:51:00 AM
We will review and test the engraving and cutting performance of the ATOMSTACK A5 M50 Pro laser engraver. This engraver is basically the same as the ATOMSTACK A10 pro and ATOMSTACK X7 Pro, but it has a more affordable 5W M50 laser module. We'll test it with our standardized test range and a few extras. This will help you decide if this machine is best for you.
The ATOMSTACK A5 M50 Pro is mechanically identical to the A10 Pro and X7 Pro. But it comes with a less powerful - 5W M50 laser module.

The ATOM STACK A5 M50 Pro should be a very solid laser engraver because it has improved mechanics and added an offline touchscreen controller compared to the previous model - the A5 Pro.
We'll put it through a series of tests to show what this machine is capable of.
The A5 M50 Pro has a rectangular engraving area of 410*400mm and is equipped with a very high quality control panel with display and quality buttons. It also has an offline controller, so the laser can only be operated via its touchscreen. No computer required.
Assembly of the machine is simple, it takes less than half an hour to assemble it thanks to a good manual.
The ATOMSTACK A5 M50 Pro is equipped with a 5-watt M50 laser module.
The machine has a 32-bit controller board with a touchscreen offline controller.
I also recommend using OD6+ protection for more quality protection google. You only have one pair of eyes. protect them! These lasers work in the visible spectrum, and even reflections can be very harmful to your eyes!
Save your eyes! The included security google is not the best. Do yourself a favor and get a premium OD6+ safe Google Glass for better protection for your eyes!
The focusing process is the same as the ATOMSTACK A5 Pro we tested earlier. For the best cut, the head needs to be 3mm above the engraved surface. Focusing is done by placing the acrylic plate/spacer under the laser head and lowering the laser head onto the spacer. The spacer is 3mm thick and the head remains 3mm above the surface after tightening the z-axis screw.
The machine has a cool offline controller that allows us to use the machine without a computer. It is very handy for field jobs and projects that require a lot of the same cutting work. You set up your design in Lightburn or LaserGRBL as usual, but then instead of starting to engrave, you export it as gcode to the included SD card using the included SD card reader, which you can then select using touchreeen file, fine-tune parameters and continue sculpting your designs without using a computer.
It has a solid metal mushroom-style emergency knob that comes in handy when you need to shut down the machine in a hurry.
This is probably one of the best features I hope all lasers have someday. Limit switches allow you to automatically home the machine so that it always starts from the same position. This way, if you stop engraving or add another layer of work, or if the machine crashes mid-work, you can be sure that the machine will start working in the exact same spot you want. They decided to use cheap tactile switches instead of proper limit switches, but they worked fine.
The machine can be connected via USB or WiFi. You can also control it using a smartphone app on Android or iOS.
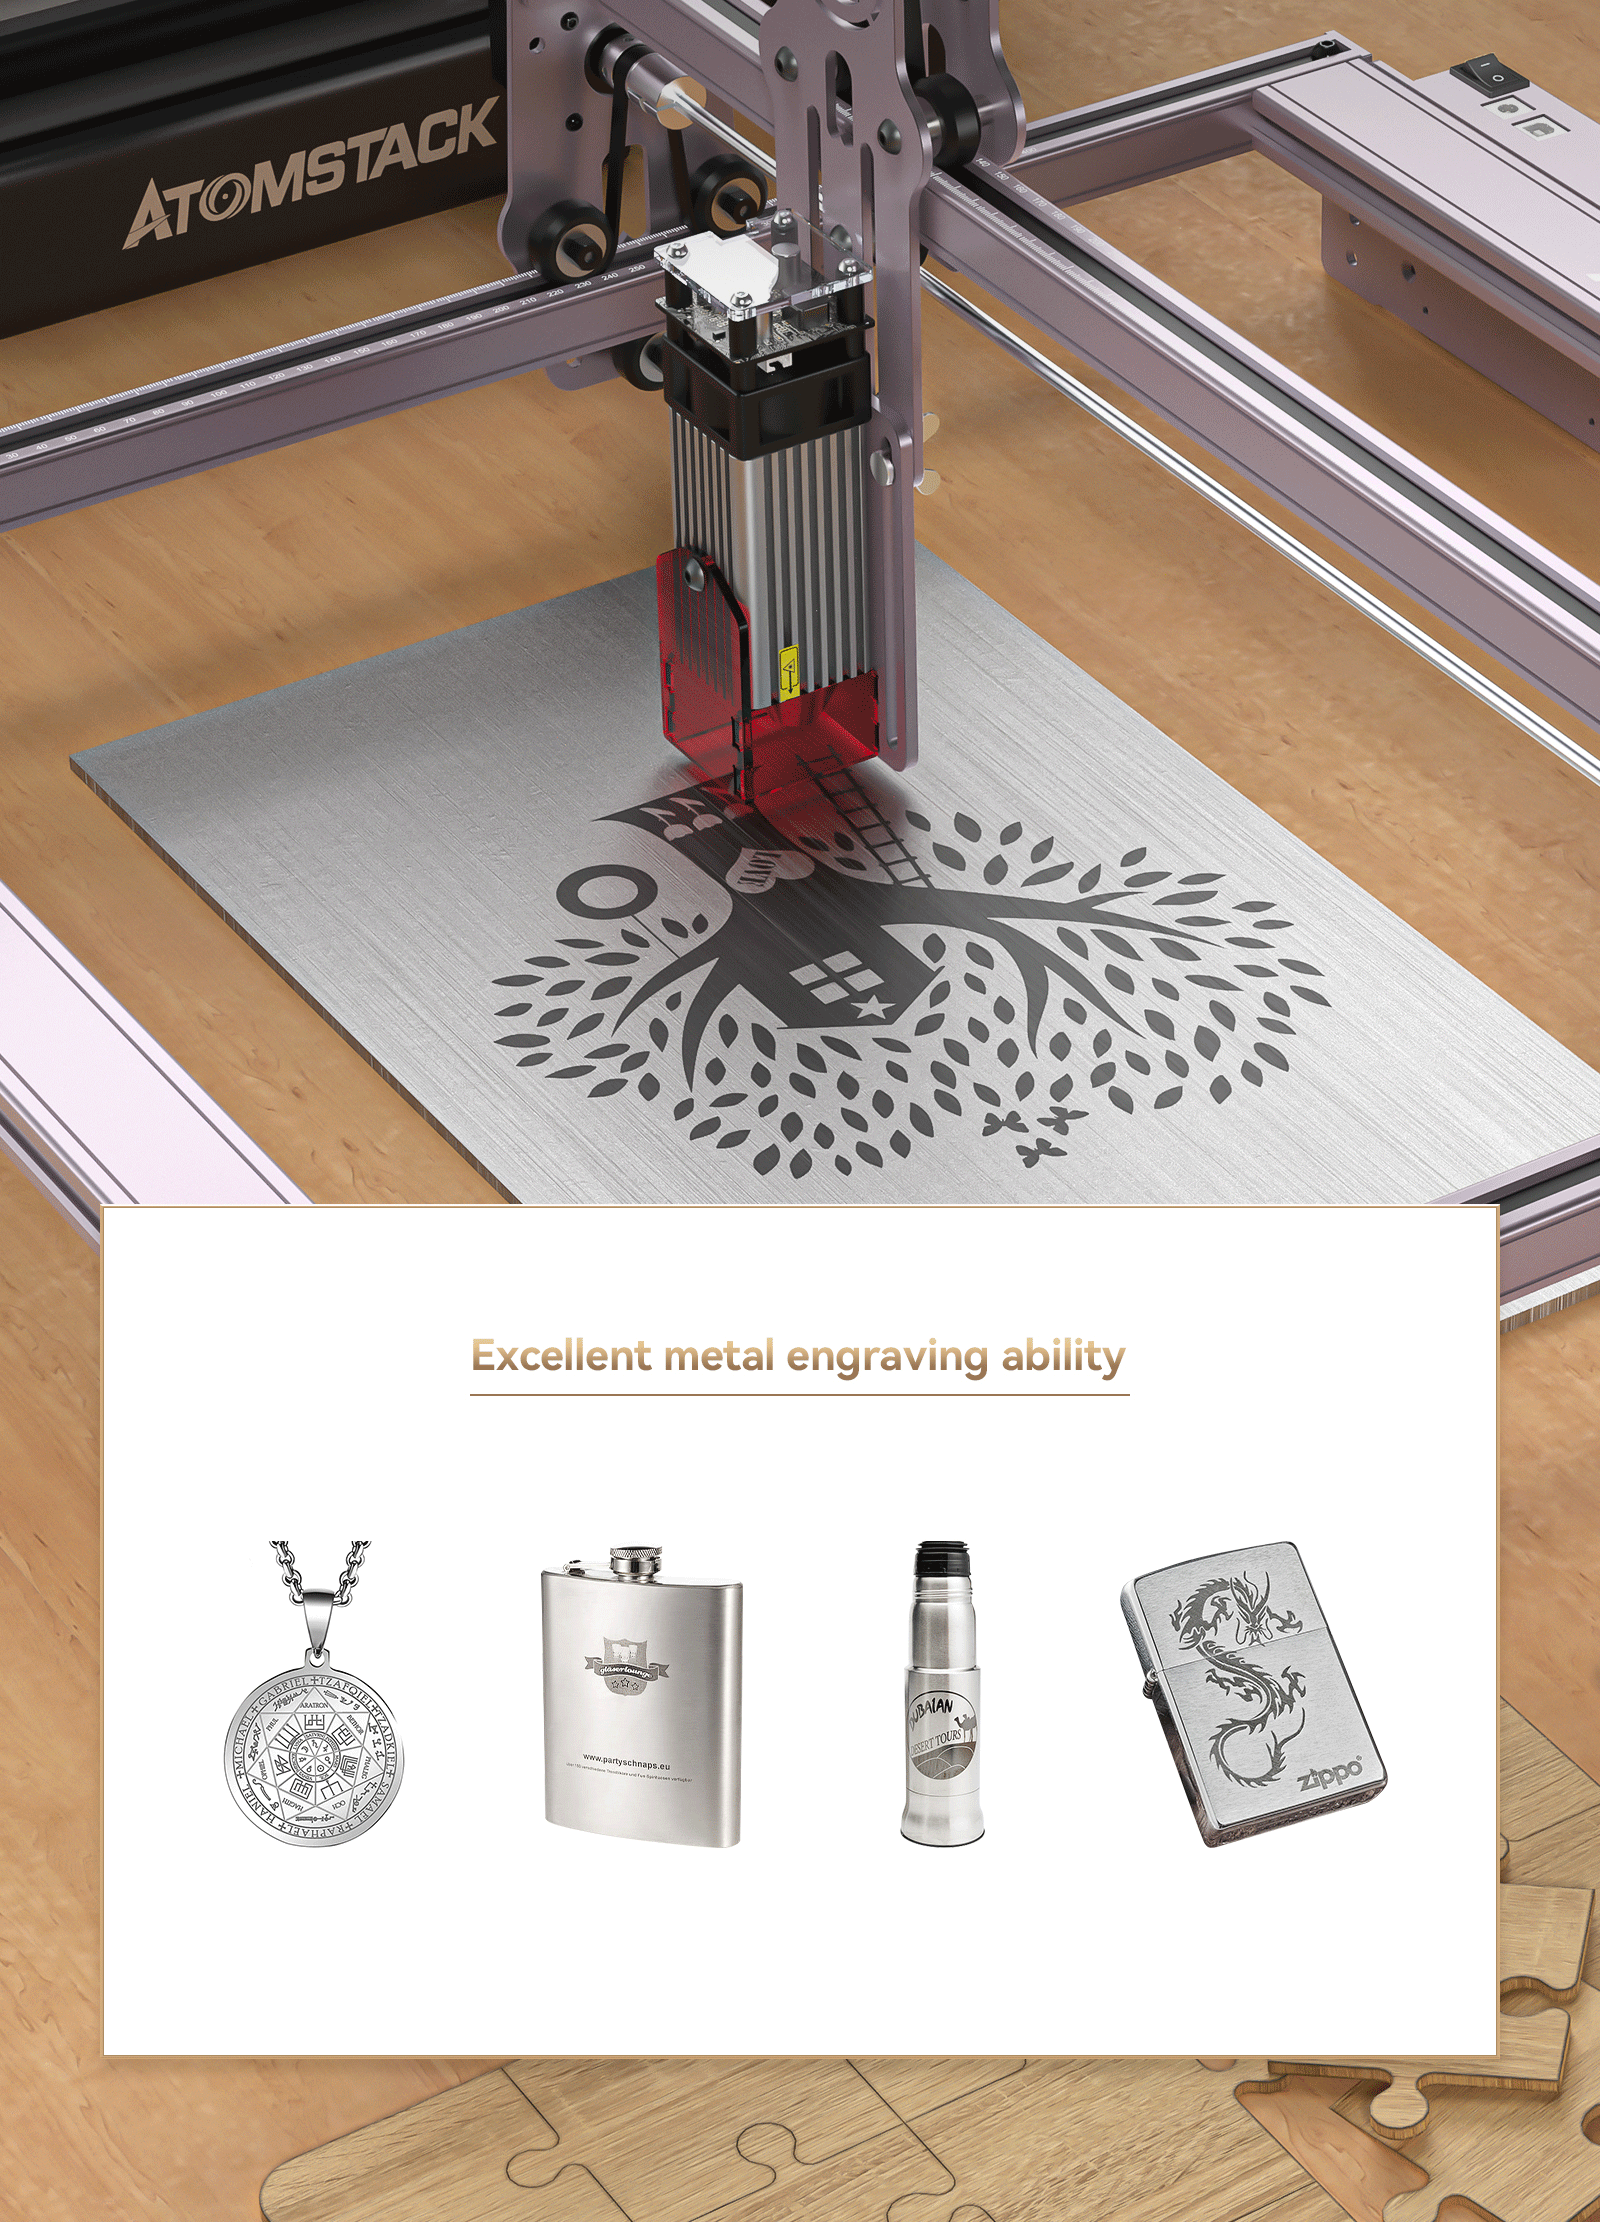
Engraving: Wood, Bamboo, Cardboard, Plastic, Leather, PCB Board, Alumina, Non-reflective, Electroplated and Painted Surface Metal, 304 Mirror Stainless Steel, Glass, Ceramic, Cotton, Slate
The ATOMSTACK A5 M50 Pro is also a reasonably capable cutter.
Cutting: cardboard, non-woven fabric, wood board, acrylic, some thin plastic sheets, sponge, etc.
To prevent your machine from rusting quickly, don't use plastics like PVC and vinyl, as they release hydrogen chloride gas when cutting, which is toxic and very corrosive.
Software and Supported Formats
You can use the ATOMSTACK A5 M50 Pro laser engraver with the free LaserGRBL software, which works fine, but is a bit clunky to use. It's great for some testing, but I went with Lightburn, which is more powerful and very intuitive to use. While it's not free, the license costs $60. However, the software offers a 1-month full-featured free trial, which will help you decide if it's worth it.
With LaserGRBL you can import vector files (NC, BMP, JPG, PNG, DXF…) and bitmap image files (bmp, jpg, png and gif),
Lightburn supports more formats: AI, SVG, DXF, PDF, HPGL, PLT, and RD for vector formats and PNG, JPEG, BMP, TIFF, TGA, and GIF for image formats.
We have done more or less standardized testing on all laser engravers and cutters. This way, it's easy to compare results between machines. Here you can see a video showing how the test is done, and below you will find detailed images of the test results along with instructions.
Our standard engraving patterns are designed to demonstrate engraving capabilities at different settings so you can see the effectiveness of the laser beam. Let's look at the results in more detail in the following sections.
The power level test pattern shows how the machine can engrave at different power levels at different speeds.
Power varies from 10% to 100% in 10% increments at speeds of 600, 1200, 1800 and 2400 mm/min. We omitted the low speed/high power shape because the beam burns too much at low speed. This leaves a large burnt blob that provides no practical information.
The interval scale test is used to show whether the laser focus shape is square or rectangular. The scan interval was gradually increased from 0.1 mm to 0.5 mm.
In this test, the beam shape of the ATOMSTACK A10 Pro looked very square, and the vertical and horizontal sculpting looked very balanced.
We'll be able to estimate the exact spot shape later when we test the engraving on anodized aluminum.
This is a test of engraving a small 20mm size photo while changing the maximum laser power.
Engraving of photos is slow because the laser head has to scan line by line like an inkjet printer. If you want to engrave a very large photo, be prepared to wait a few hours 🙂
As we can see below, the ATOMSTACK A5 M50 Pro does a very good job of photo sculpting.
Engraving of vector images is much faster because the laser head follows the lines directly. Although with this technique you cannot make grayscale images.
Our test included this cute tit bird photo in the upper right corner of the test piece. It only took a few minutes to carve the bird. In the software it is possible to set the shape to be filled with a pattern fill, in this one, the shape is swept to fill in 0.1mm steps. For large engravings, you can increase the step to 1mm or more to speed up the engraving. This way it will make a raster or grid on the black areas. But at other times there is more discussion on this.
Next, we tested the ATOMSTACK A5 M50 Pro on a piece of black anodized aluminum scrap.
Below are engraved test patterns to evaluate focus size in both directions and the effect of viewing speed. Next, we will further examine the various parts of the test mode.
The most important part is the interval scale. By scanning vertically and horizontally with different interval steps, we can approximate the size of the laser spot. From the results we can see that the laser spot of the ATOM STACK A5 M50 Pro is more or less rectangular because the pattern looks the same when scanned in the horizontal (X-axis) and vertical (Y-axis) directions.
New: https://www.atom-stack.com/products/powerful-atomstack-x20-pro-130w-laser-engraver-machine-quad-core-diode
Please enter the text starting from the circled letter following the letters clockwise.
Post CommentThe line under a letter indicates orientation.